We're changing lives with disruptive dentistry.
-Dr. Miguel Stanley
With the advent of the 100% digital workflow — enabled in large part by the technological advancements made by companies like Carestream Dental — I can now deliver highly aesthetic smiles in a simple, pain-free and minimally invasive manner.
As proof, a recent patient of mine traveled by plane to my practice for a total smile transformation, and it was essential to him that the work was completed quickly and with a minimally invasive approach.
The case.
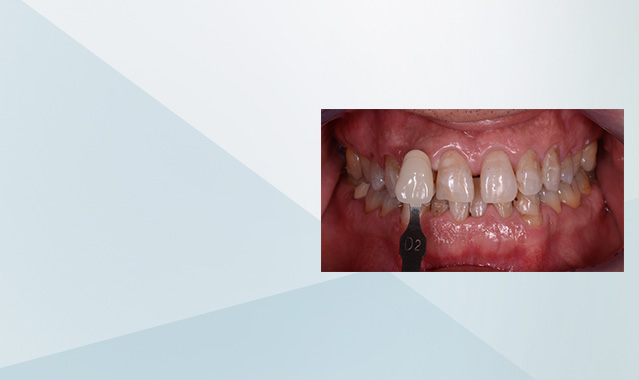
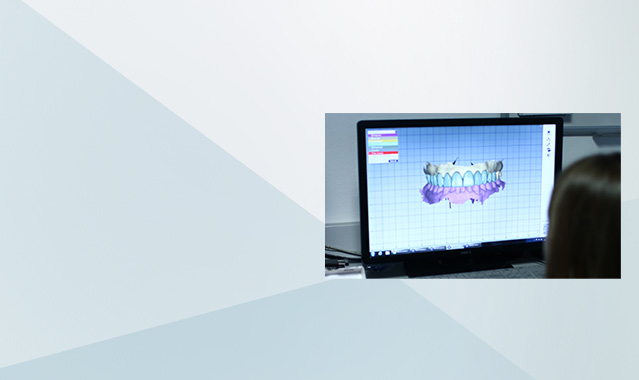
The 45-year-old male presented with significant staining, a few bonded restorations, old amalgam fillings, crowding on the mandibular central incisors, and general occlusal wear. His periodontal situation was determined to be adequate, and there was no decay or infection found, making this purely an aesthetic issue. Intraoral photographs and a panoramic radiograph were taken. The patient’s teeth were scanned using the CS 3600 intraoral scanner by Carestream Dental prior to treatment as part of the initial records. The patient’s occlusion was checked to make sure the bite was good — which is generally one of the first things I like to do when planning treatment — because all aesthetic treatments should result in great occlusion. Unfortunately, too many dentists focus solely on the case from an aesthetic perspective, and they do not take a more holistic approach, which would include the occlusion as a major focus. To perform this analysis, the digital impression was imported into the Tekscan T-Scan 9 software.
The treatment plan.
For this case, we decided it was best to take a minimally invasive approach and to treat both the maxillary and mandibular arches with veneers. For the mandibular arch, the patient first required a few months of Invisalign aligner therapy to correct the incisal crowding. In the meantime, the maxillary aesthetics could be addressed, and this case summary focuses primarily on the aesthetic approach that was taken for the maxillary arch.
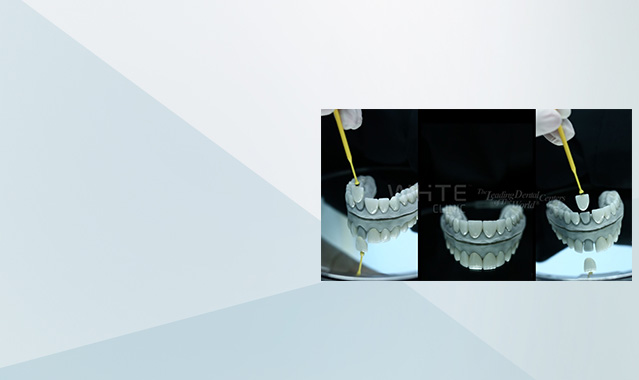
We began with an in-office whitening treatment, which would provide an immediate aesthetic improvement, as well as a better cosmetic outcome because it addresses the substrate.
Next, we completed a mock-up using a digital smile design concept. Since we wanted to try in-house printing for this, we tested the SolFlex printer, a new 3D printer from VOCO. We used the smile design software to mock up the 3D design.
The veneer design was tested in the patient’s mouth, which allowed the patient to visualize how the final treatment would look and gave me a better understanding of the thickness that was needed. Therefore, this served as more of a thickness guide than a cosmetic guide. The mandibular arch was not addressed at this time because the patient needed to complete the Invisalign treatment prior to planning and placing the veneers.
A local anesthetic was administered, and the teeth were prepared through the Bis-acryl mock-up, with a minimally invasive approach. The retraction cord was then placed, and the teeth were dried. The tetracycline staining that occurred below the superficial enamel became more apparent, indicating that the staining was quite deep and confirming that whitening would not have produced an effective long-term aesthetic result for this patient.
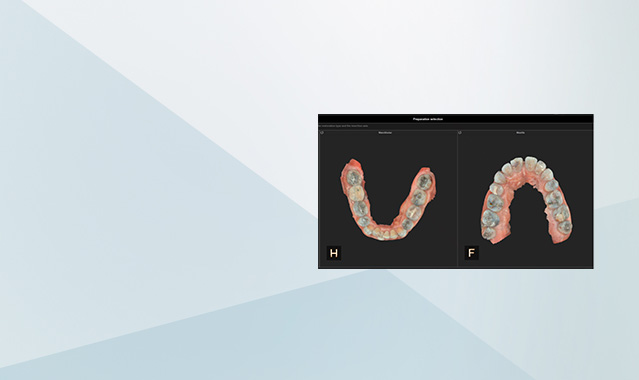
The CS 3600 intraoral scanner was used to scan the preparation. Digital scanning provides an overall better patient experience because the scan is fast and more comfortable.
I also find the digital impressions are a lot safer and less expensive than conventional impressions, as sometimes conventional impressions require retakes. Additionally, conventional impression materials require a great deal of skill to get a high-quality impression. Digital scanners, on the other hand, produce highly accurate digital impressions quickly and easily. The digital impressions are stored in the software, enabling digital models to be easily sent to the lab.
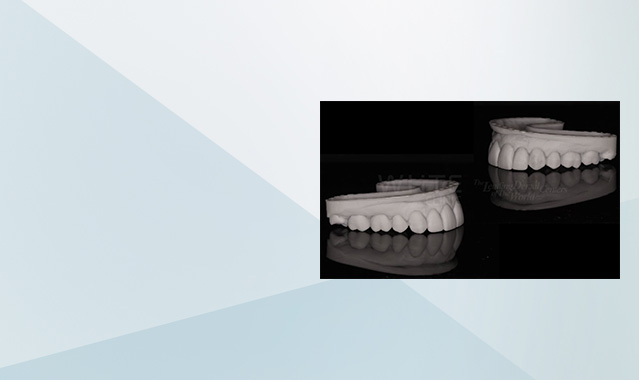
For this case, I created a 3D model of the scan using the VOCO SolFlex printer. I find it to be incredibly accurate, and it provides me with a working model that is also digital. I used the original mock-up to fabricate the temporaries using VOCO Structure 3, which is a nanoparticulate bis-acryl, and the teeth were designed so there was enough gingival clearance with no excess material.
The patient was sent home with the provisionals. The lingual surface of the teeth remains untouched, and only the labial surface of the teeth was impacted by the preparation for the veneers.
The digital impressions were sent to the lab, so they could complete the design and the manufacture of the veneers. The lab received the scan and started designing the veneers for each individual tooth in exocad software.
The veneer designs were sent to the Amann Girrbach Ceramill Motion 2 mill for milling. Ivoclar e.max blocks were milled and then placed in the sintering furnace for the first cycle.
Despite the fact that this was one of the first cases we ever scanned with the CS 3600, the fit was perfect. In fact, it could not have been better.
I also referenced the X-ray documentation to ensure that all was correct. I then added the ceramic layer to the e.max veneer for the ultimate aesthetic approach. Of course, if your preference is to use fully milled e.max, you can use that approach as it’s a much simpler process and the overall aesthetics are fantastic.
The entire case was digitally planned, printed and milled.
The final milled veneers, onlays and crowns were placed on the 3D printed model for final verification of aesthetic outcome and fit. The veneers covered only the buccal and incisal surfaces of the tooth. There was an onlay on tooth 16 for a minimally invasive approach, and I placed a full crown on tooth 17 because it required more comprehensive treatment.
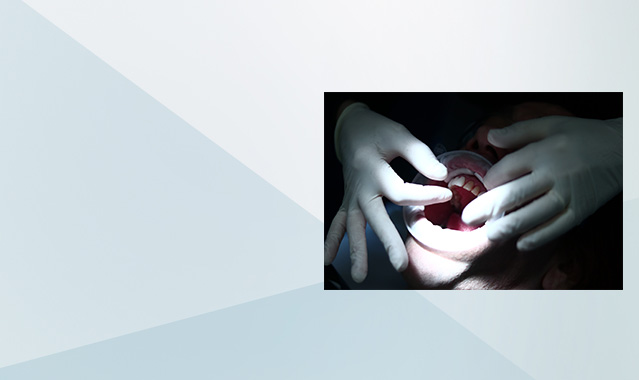
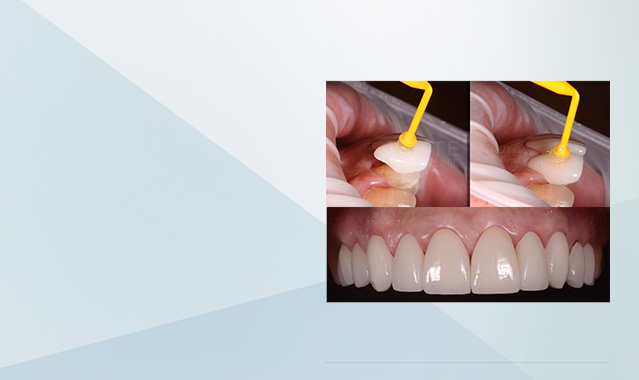
Then, I placed the veneers one last time to check the final fit. Due to the conservative approach I took with this case, the final placement required minimal anesthetic. To create a completely isolated field, a rubber dam was placed and the teeth were acid etched. While the teeth were being prepared, the crowns and veneers were also etched and prepped for the cementation. We used VOCO Bifix, which is designed specifically for veneers.
Finally, the veneers were cemented into place. We refer to our cementation process as #lifechangingdentistry, because it truly does make such a significant impact on the lives of our patients.
The result.
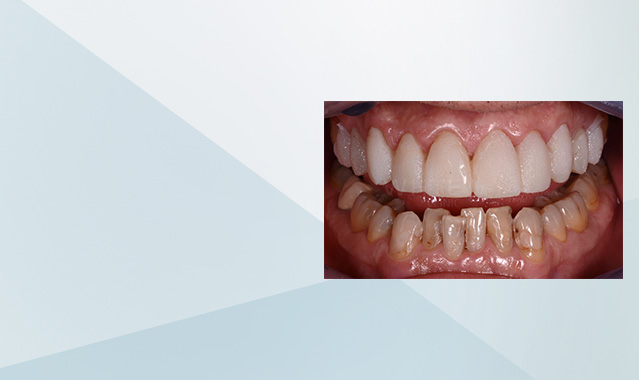
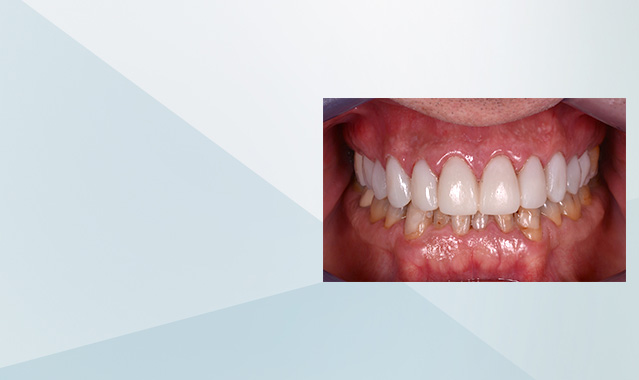
Our patient got his complete smile transformation. His occlusion is absolutely perfect and, due to the minimally invasive approach, the outcome was completed in a way that was very simple and very easy for him.
The 100% digital workflow.
While this patient came to us for a new smile, and he certainly got that, everybody on my team also had plenty of reason to smile.
Now, if any of this patient’s veneers ever crack, I would not need to take a new impression; I still have the digital one on the computer file. I can simply mill a replacement veneer overnight, using 100% monolithic e.max and replicating what was milled previously. I would not even have to do the ceramic layer.
Additionally, due to the open nature of the scanner software, the files can be shared anywhere in the world. So if the patient ever moves, the files can move with him, preventing the need to go through this lengthy process again.
And if the patient requires any additional dental work in the future, the same initial digital impression can be used, with only the need to rescan any areas where the dentition has changed.
That’s the benefit of a 100% digital workflow. And that’s the story behind this smile.
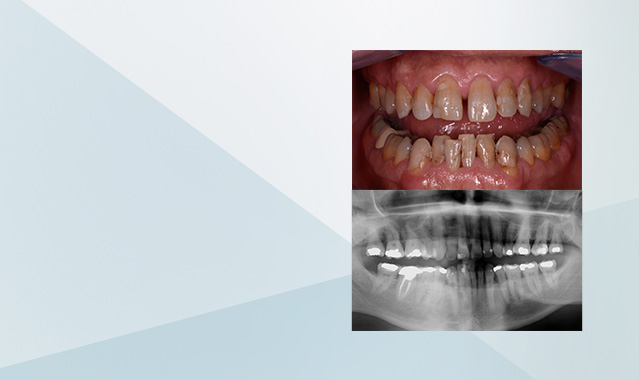
Initial situation
Initial digital impressions captured by CS 3600 scanner
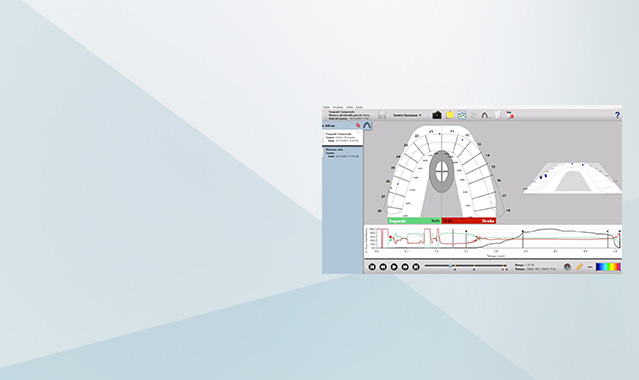
Digital impression imported into T-Scan 9 software for occlusal analysis
Post-whitening
3D printed mock-up
Initial try-in of the veneers to check thickness
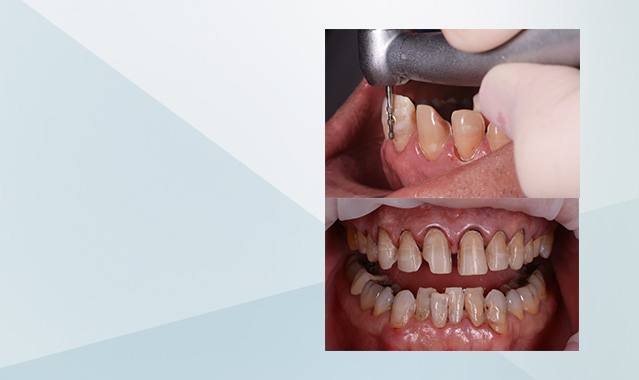
Tooth preparation on left, retraction cord in place on right
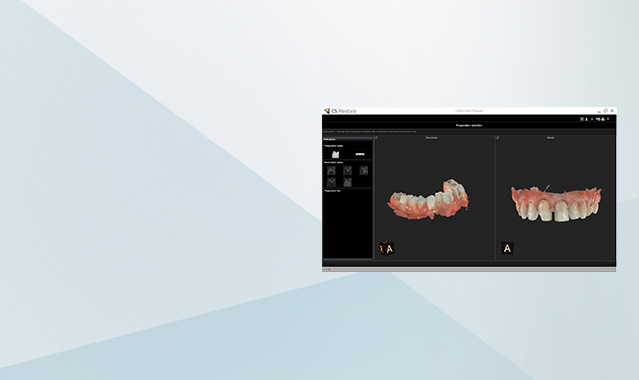
Preparation scanned with CS 3600
Printed 3D model
Provisional veneers
Veneer design in exocad software
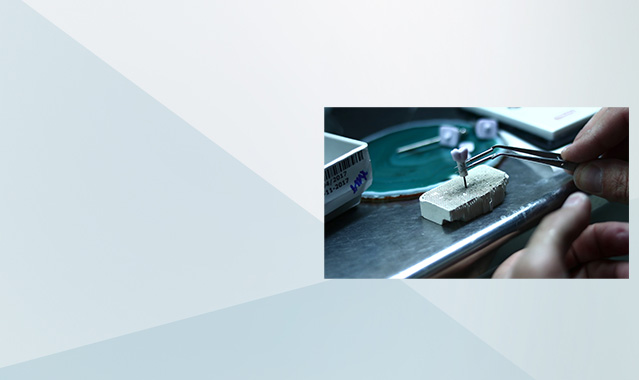
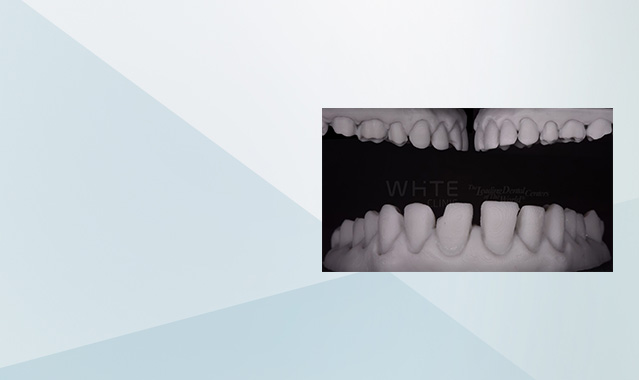
Veneers were milled, glazed and sintered
Try-in prior to glazing
Perfect fit of the veneer for the central incisor
Verify final fit of veneers and prepare teeth using rubber dam for proper isolation
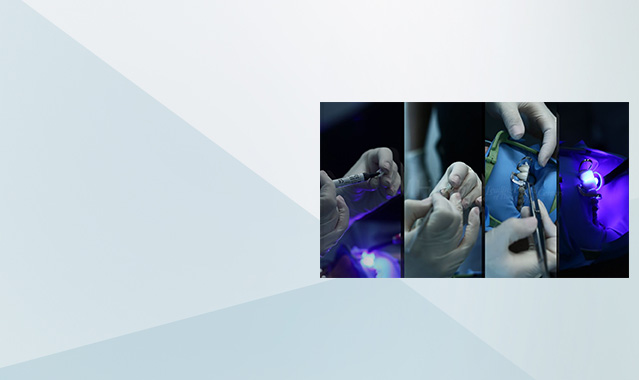
Verify final fit of veneers and prepare teeth using rubber dam for proper isolation
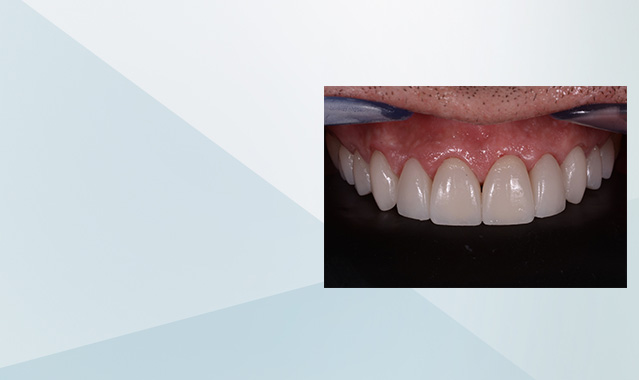
Final result
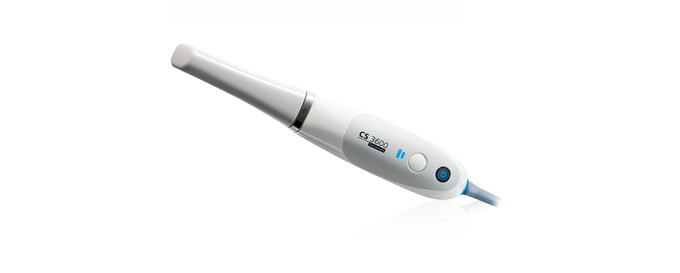
Known for its fast, accurate and easy digital impression capture, the CS 3600 provides improved treatment planning and a streamlined workflow.
|
What can we do to make you smile?
|
|
|
Need some product information? Want a free workflow assessment? Connect with us and we will give you what you need. |
|
Simple Form for Landing Pages - US/Canada
|
*Indicates required field
Review the Carestream Dental Privacy Shield Policy HERE.Opens in new window
|
© 2024 Carestream Dental LLC. Alle Rechte vorbehalten