As patients return to the dental practice following the COVID-19 shelter-in-place orders, they may need reassurance that all precautions are being taken to protect their health in safety. In addition to wearing the proper personal protection equipment (PPE), using best practices to correctly clean and disinfect equipment can help reduce the spread of infectious disease.
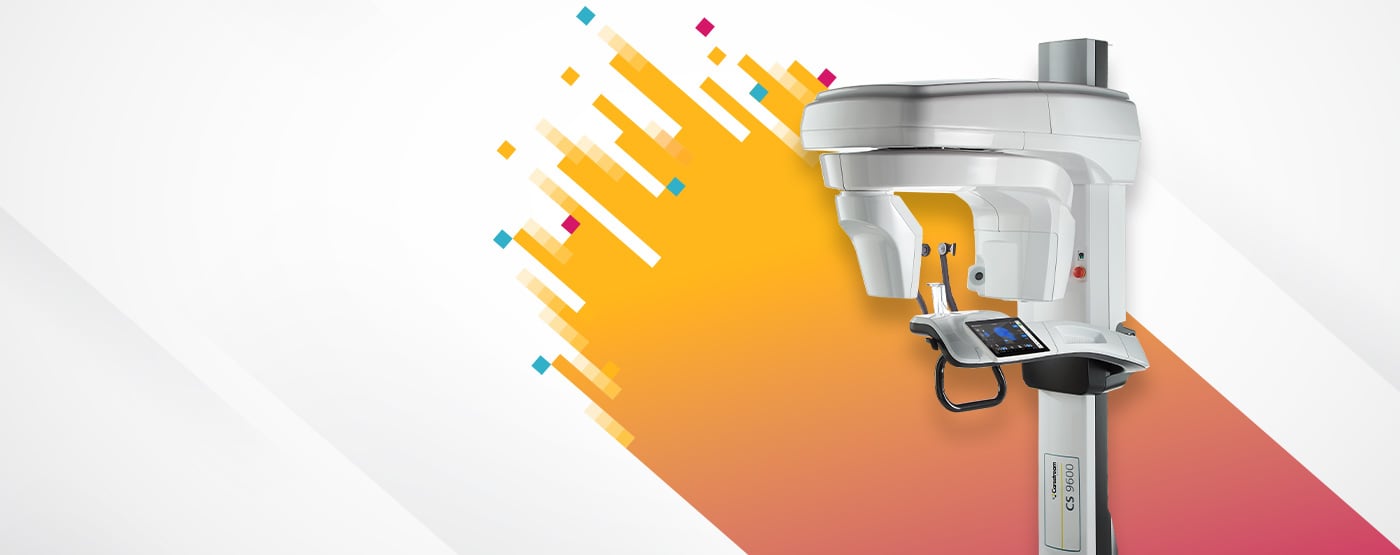
Carestream Dental’s extraoral imaging systems (such as the CS 8100 family, CS 9600 and CS 9300) are designed to be easily disinfected. In fact, the CS 9600 features smart positioning technology, which ensures that the correct accessory is used for positioning—eliminating the use of unnecessary accessories and the need to clean extraneous components.
This blog is intended to provide an overview on how to disinfect Carestream Dental’s extraoral imaging units.* For more detailed instructions, please see the Safety, Regulatory and Technical Specifications User Guides:
Cleaning the Unit
To clean the system, start by turning the unit off and removing all visible soil with a disposable cloth or paper wipe. Next:
- Dampen a lint-free cloth with soap and running water and thoroughly clean manually all accessible parts of the unit, including the temporal head clamps.
- Dry the unit with a hygienic disposable cloth.
- Dampen a lint-free cloth with a low-level disinfectant that is U.S. Environmental Protection Agency (EPA)-registered or low-level disinfectant that is recognized by your Local Authority (for example, quaternary ammonium compounds and some phenolics) and thoroughly wipe all accessible parts of the unit with the dampened lint-free cloth. You must follow the disinfectant’s manufacturer instructions for use, especially with respect to contact time.
- Allow to dry in the open air for a minimum of 5 minutes.
Cleaning and Disinfecting Accessories that Come into Contact with Mucus Membranes
For accessories that come into contact with mucus membranes, stringent protocols must be taken for proper disinfection.
To clean the accessories that have contact with the mucous membranes, follow these steps:
- Remove and discard the protective sheath from the accessory.
- Remove all visible soil by with disposable cloth or paper wipe.
- Rinse at least 1 minute under running water to thoroughly clean the accessory from any excess soil.
- Using a soft brush, apply medical enzyme detergent solutions (basically with a multi-enzymatic formula) to all surfaces of the accessory. Strictly adhere to the detergent manufacturer’s directions.
- Rinse thoroughly under running water for at least 1 minute to remove detergent residue.
- Dry the accessory with compressed air or hygienic disposable cloth.
- Visually inspect the accessory for residual soil. If soil is visible, either repeat steps 2 to 5, or safely dispose of the accessory.
Once cleaning is complete, the following steps should be followed to steam autoclave the accessory:
- Wrap the cleaned accessory using a standard packaging material for autoclaving.
- Steam autoclave at 132°C (270°F) for 4 minutes in the USA or—depending on your local regulation—you can steam autoclave at 134°C (273°F) for 18 minutes.
- Visually inspect the accessory for signs of deterioration. If any damage is noted, do not use the accessory and contact your representative.
- Once sterilized, the accessory can be used immediately or stored dry and dust-free in its sterilization wrapping under temperature specified in section “CS 9600 Environmental Requirements” of the present guide.
Cleaning and Disinfecting Components and Accessories That Have Skin Contact
To manually clean the component or accessory that have skin contact, follow these steps:
- Remove all visible soil by with disposable cloth or paper wipe.
- Rinse at least 1 minute under running water to thoroughly clean the component/accessory from any excess soil.
- Using a soft brush, apply medical enzyme detergent solutions (basically with a multi-enzymatic formula) to all surfaces of the component/accessory. Detergent manufacturer’s directions must be strictly adhered to.
- Rinse thoroughly under running water for at least 1 minute to remove detergent residue.
- Dry the component/accessory with compressed air or hygiene disposable cloth.
- Visually inspect the component/accessory for residual soil. If soil is visible, either repeat steps 1 to 4, or safely dispose of the accessory.
To disinfect the component or accessory, once the cleaning is complete, follow these steps:
- Disinfect the accessory by using an EPA-registered hospital disinfectant for low-level activity or low-level disinfectant that is recognized by your Local Authority (for example, quaternary ammonium compounds and some phenolics). You must follow the disinfectant’s manufacturer instructions for use, especially with respect to contact time.
Cleaning and Disinfecting the Ear Cones of the Scan Ceph or Cephalostat module (applicable only with cephalometric modality configuration)
Ear cones must be covered with a use FDA-cleared or CE mark protective sheaths that are available from distributors to use them between each patient. After use, remove and discard the protective sheath. You must clean and disinfect the ear cones between each patient use with an EPA-registered, or CE-mark, intermediate-level disinfectant with labels claims of tuberculocidal activity.
To clean the ear cones, follow these steps:
- Remove and discard the protective sheath from the accessory.
- Remove all visible soil with disposable cloth or paper wipe.
- Dampen (not soak) a lint-free cloth with soap and running water.
- Thoroughly clean manually the ear cones with the dampened lint-free cloth.
- Rinse thoroughly with lint-free cloth with running water.
- Dry the accessory with hygienic disposable cloth.
- Visually inspect the accessory for residual soil. If soil is visible, either repeat steps 2 to 6, or safely dispose of the accessory.
Disinfecting
- Use an intermediate-level disinfectant with tuberculocidal activity as identified above and as recommended by the manufacturer of the disinfectant.
- Allow to dry in open air.
Carestream Dental’s extraoral imaging systems are designed to enhance your imaging capabilities and to make it easier to care for your patients. Learn more today.
*This is intended to be used as guidance on our products; however, you should verify with your respective department of health to learn of any additional considerations that should be taken into account.
You should also review the ADA ‘s guidance for COVID-19 patient management to reduce the risk of equipment cross contamination
Cleaning and disinfecting the ear cones of the Scan Ceph or Cephalostat module (applicable only with cephalometric modality configuration)
Ear cones must be covered with a use FDA-cleared or CE mark protective sheaths that are available from distributors to use them between each patient. After use, remove and discard the protective sheath. You must clean and disinfect the ear cones between each patient use with an EPA-registered, or CE-mark, intermediate-level disinfectant with labels claims of tuberculocidal activity.
To clean the ear cones, follow these steps:
- Remove and discard the protective sheath from the accessory.
- Remove all visible soil with disposable cloth or paper wipe.
- Dampen (not soak) a lint-free cloth with soap and running water.
- Thoroughly clean manually the ear cones with the dampened lint-free cloth.
- Rinse thoroughly with lint-free cloth with running water.
- Dry the accessory with hygienic disposable cloth.
- Visually inspect the accessory for residual soil. If soil is visible, either repeat steps 2 to 6, or safely dispose of the accessory.
Disinfecting
- Use an intermediate-level disinfectant with tuberculocidal activity as identified above and as recommended by the manufacturer of the disinfectant.
- Allow to dry in open air.