Get Started with Teledentistry in 7 Easy Steps

The world has been slowly moving towards digital, and COVID-19 has certainly accelerated this process. During the height of quarantine, teledentistry became a hot topic for dental practices across the country—and with the convenience that virtual appointments offer both dental professional and their patients, this may become more than a trend but a routine way of life in the future.

We’re outlining the 7 things you can do to implement teledentistry into your practice. By taking these steps, you can ensure that you are delivering high quality and efficient video conferencing meetings with patients and referrals. To keep this simple, we are going to use Microsoft Teams as an example.

  1. Create the right environment
    One of the most important aspects of video conferencing that should not be overlooked is the environment in which you conduct the call.

     
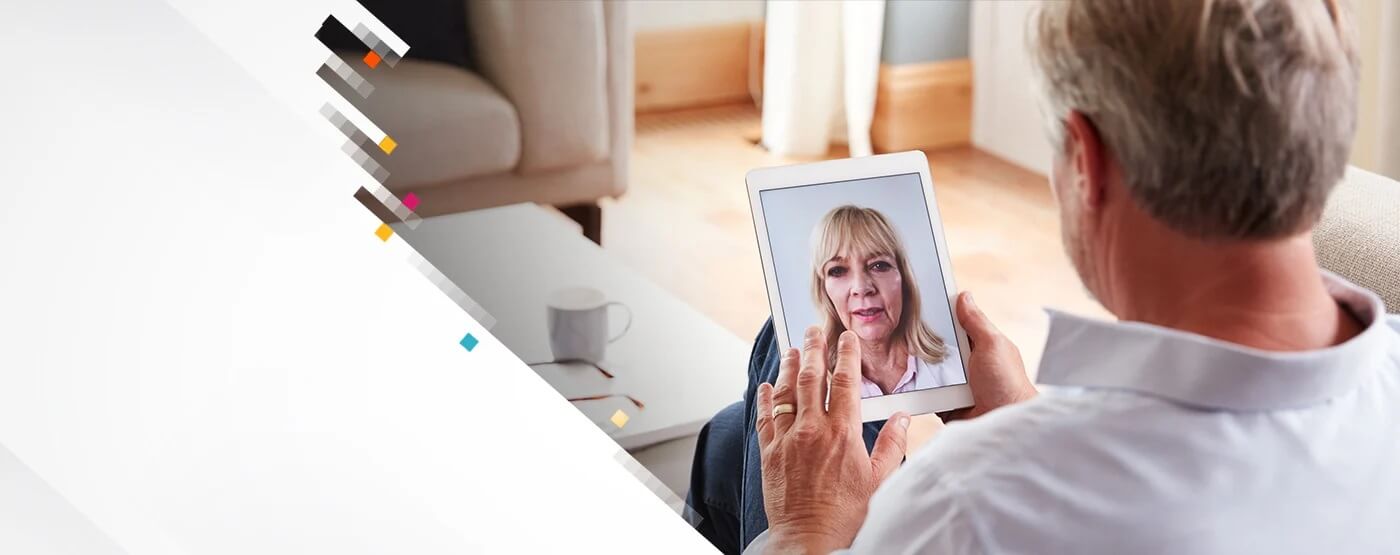
    • Avoid backlight situations, which cast shadows on the speaker’s face. Instead, consider adding a task light or small ring light slightly above your computer. If you have a window behind you, be sure to pull the shade, or if possible, turn your desk and computer around to face the window and take advantage of the natural light.

    • Choose a space that provide a clean and uncluttered background. You can show some personality on your background, like a favorite team jersey or family photos, all of which can make nice conversation starters.

    • If you cannot remove clutter from your background, many videoconferencing applications will allow you to drop in a graphic background, allowing you to add your logo and reinforce your practice’s brand. Keep in mind that this option works best with shorter, sleeker hairstyles.

    • Find a quiet place, if possible. It’s important to keep the conversation focused on the patient, and not external noises like dogs barking, children playing, garbage trucks and so many of the other noises we have come to accept during COVID-19 work from home. 

  1. Check your Internet connection
    You will need to have sufficient bandwidth to support teleconferencing. Let’s look at Microsoft Teams, a well-known videoconferencing tool as an example.  Microsoft recommends a bandwidth of “1.5 Mpbs for Peer-to-peer HD quality video calling with resolution of HD 1080p at 30fps” and “500kbps/1Mbps for group video calling”.  It is important to check with your internet provider to ensure you have the appropriate bandwidth to support video conferencing.

    Keep in mind that video conferencing tools are designed to optimize audio quality over video quality, so—in the case where a patient’s or referral’s bandwidth is limited—you can still meet and engage in conversation. Likewise, to conserve bandwidth, all participants can disable their cameras and allow the speaker to be the only person whose camera is active.

  2. Choose your Internet-capable device
    For patient teleconferencing, many practitioners prefer to utilize laptops and computers rather than smartphones or tablets, as they not only can simplify the overall experience and sharing of patient details in the chart but can also simplify the setup.  Laptops and monitors eliminate the need for bulky stands and peripherals, providing a more streamlined experience. 

  3. Select a high-resolution camera or webcam
    When you choose a camera or webcam to use for your teledentistry conference, keep in mind that you are replicating an in-person visit.  For this reason, it is essential to choose devices that are capable of providing a high-quality video exchange with your patients and referrals.  The great news is that most laptops already have an appropriate onboard camera which can be used for teleconferencing.  Be sure to check the compatibility of your webcam with your videoconferencing software.  Most platforms provide you with details about compatible devices.  Microsoft Teams, for example, provides a list of compatible devices to help simplify your selection of an appropriate webcam.

  4. Choose a microphone – Onboard, headset or earbuds
    Before you choose whether to use your device’s onboard speakers or to invest in a microphone, it is important to survey your environment.  Is the workspace quiet, or will you need to consider a device with noise canceling capability?  Or do you have periods of time throughout your day when you would need noise-cancellation capability and other periods when you will not?  For example, if your landscapers arrive every Friday at 11:00 and your microphone can pick up leaf blowing and mower noises, you may want to consider a headset or microphone with noise cancellation capability.

    If you prefer not to wear a headset and would rather use your onboard laptop microphone, schedule a few test calls to verify that you have the quality you need.

  5. Decide on which collaboration software to use
    There are several things to consider when choosing the right collaboration software for your teledentistry appointments.  The most important question to ask is whether it is HIPAA compliant, as you will be sharing patient health information and you have a responsibility to protect your patient and their data.  Microsoft Teams, for example, is HIPAA and GDPR compliant and has achieved multiple international top security certifications.

    You should also consider workflow and compatibility.  Is there a teledentistry application that is already certified by your practice management software provider?  Is there one that has a bridge or integration with an existing platform that will help to streamline your video conferencing appointments?  Be sure to check with your practice management solution provider to see what they recommend for optimal compatibility.

  1. Market your new teledentistry offering
    Once you have established your teledentistry setting, have selected a collaboration application, checked your equipment, and conducted a few test calls, you are ready to get the word out to your patients.  Utilize your social media channels to let your patients know that your practice now has teledentistry capability.  You may have to educate them about which appointments are most suitable for teledentistry, whether it is a consultation, follow up, post-surgical check-in, or even as a triage tool for emergency situations to help determine if the patient’s situation requires a trip to the emergency department or if it can wait.

Although teledentistry is relatively new technology, it doesn’t have to be intimidating. By taking the steps listed above, you will have any channel through which you can deliver high-quality care to your patients.


Contributors
The Digital Stream Carestream Dental Blog Administrator
Categories
Share